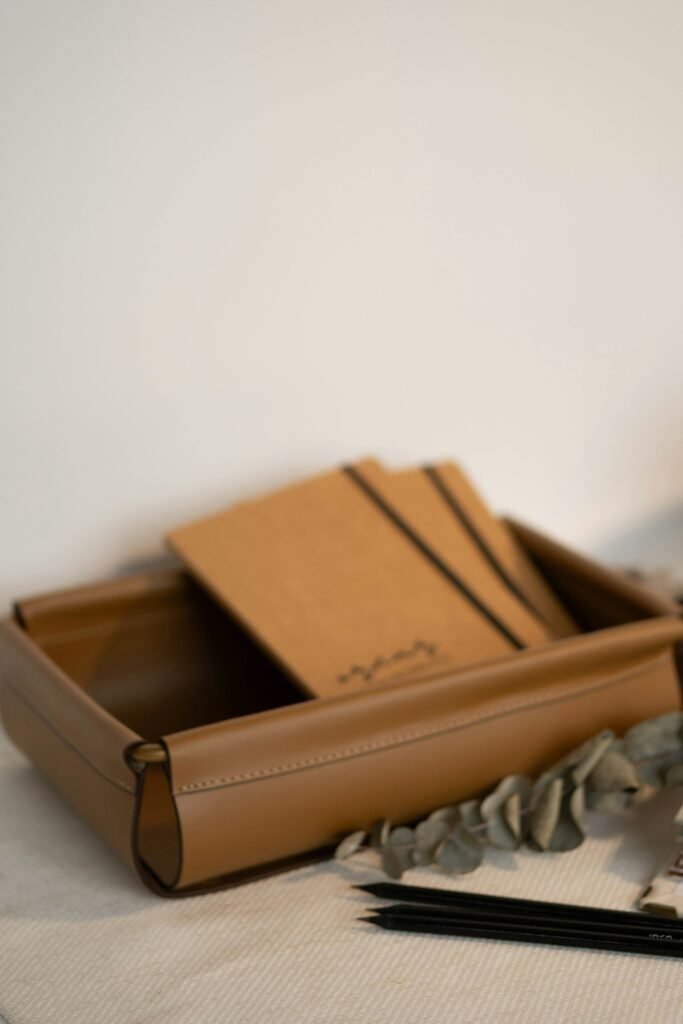
Loose paper is one of the fastest ways a desk turns into a mess, and a stackable paper tray solves it by giving each stage of paperwork — incoming, in progress, filed — its own tier. By the end of this guide, you’ll have a tray system set up so nothing gets buried under the next thing that lands on your desk.
What You’ll Need
- A stackable paper tray sized to your paperwork volume — a 5-tier option like the Supeasy 5-Tier Mesh Paper Tray covers most home offices
- A slimmer option like the 5-Tier Letter Tray Paper Organizer if desk space is tight
- 10 minutes to sort through your current paper piles
- Sticky labels or a label maker (optional, for marking each tier)
Step-by-Step Instructions
Step 1: Gather every loose paper on your desk
Pull together every document currently scattered across your desk — mail, printed forms, notes, anything not already filed away. Seeing the full volume helps you decide how many tiers you actually need.
Step 2: Sort into categories by what happens next
Common categories are: to review, in progress, waiting on someone else, and ready to file. Most home offices need 3-5 categories — more tiers than that usually just means papers sit untouched in a tier no one checks.
Step 3: Assign each tier a fixed category and label it
Pick a consistent order — for example, newest/most urgent on top, ready-to-file on the bottom — and label each tier if the tray doesn’t make the order obvious at a glance.
Step 4: Place the tray where new paper actually lands
Position it wherever mail or printed documents naturally arrive on your desk, not off to the side where it’s easy to skip and pile paper next to instead of in it.
Step 5: File the bottom tier on a fixed schedule
Pick a day — weekly works for most home offices — to empty whatever’s landed in the ‘ready to file’ tier into your actual filing system. Skipping this step is the single most common reason paper trays fill up and stop working.
Tips for Best Results
- Keep the number of tiers close to your actual number of paperwork stages — don’t over-build the system
- Put the tray within arm’s reach of wherever mail or printed pages land, not across the room
- Empty the bottom tier on a fixed schedule rather than ‘whenever it gets full’ — the schedule is what keeps it from overflowing
- A metal mesh tray holds a full stack without sagging better than thin plastic
Common Problems
The most common failure mode is treating every tier as a permanent home instead of a temporary holding spot — papers pile up in the top tier and never move down because there’s no scheduled review. If your tray keeps overflowing, the fix is almost always a recurring calendar reminder to process it, not a bigger tray.
Frequently Asked Questions
How many tiers do I actually need?
Most home offices do fine with 3-5 tiers matching real workflow stages (to review, in progress, ready to file). More tiers than that often just creates extra places for paper to get forgotten.
How often should I empty a paper tray?
Weekly works well for most home offices — pick a fixed day so the bottom tier gets filed regularly instead of becoming a permanent pile.
Should the newest paper go on top or bottom?
Either works as long as you’re consistent — top-down (newest on top) is the most common setup since it mirrors how papers naturally get added.
Can a paper tray replace a filing cabinet?
No — a paper tray is for active, in-progress paperwork. Anything you need to keep long-term should move to an actual filing system on your scheduled review day.
Conclusion
A stackable paper tray only works if each tier has a clear job and you actually empty it on a schedule — the tray itself is just the container. Ready to upgrade? Check our Best Stackable Paper Trays guide for a full comparison of top picks.