A sit-stand desk’s cables need to move with the desk as it rises and lowers, which a fixed clip or raceway can’t handle. A desktop cable organizer (cable spine) solves this by flexing along with the desk’s motion. By the end of this guide, your desk’s cables will move smoothly with it instead of straining or catching.
What You’ll Need
- A cable spine kit — VIVO Under Desk Vertebrae Cable Management Kit is built specifically for sit-stand desks
- A 2-pack option like Delamu 2-Pack Cable Management Solution if you’re managing cables on two desks or a wider setup
- A tape measure to check your desk’s height range (lowest to highest position)
- Cable ties or the kit’s included fasteners
Step-by-Step Instructions
Step 1: Check your desk’s full height range
Measure the distance from the desk’s lowest sitting height to its highest standing height — this tells you how much flex length the cable spine needs to cover without going taut at full extension.
Step 2: Gather the cables that need to move with the desk
Identify every cable running from the desktop down to a fixed point — monitor power, dock, or hub cables — since these are the ones that need spine support, not cables already anchored at both ends.
Step 3: Mount one end of the spine to the desk’s moving section
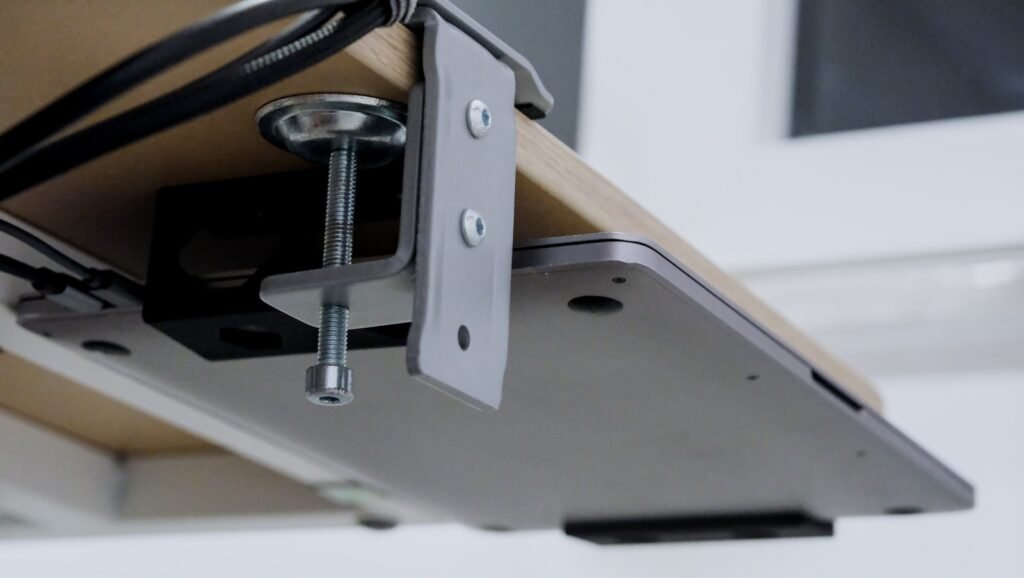
Attach the top fastener to the underside of the desktop or its moving frame, following the kit’s specific mounting method (usually adhesive or a clamp).
Step 4: Mount the other end to a fixed point
Attach the bottom fastener to a wall, floor bracket, or fixed part of the desk frame that doesn’t move with height adjustments.
Step 5: Route your cables through the spine
Feed the identified cables through the spine’s channel or wrap, following the kit’s specific design, leaving enough slack at both ends for the desk’s full range of motion.
Step 6: Test the full height range before finalizing
Raise and lower the desk through its complete range with the spine installed, checking that cables never go fully taut or bunch up excessively at any point.
Tips for Best Results
- Test the full height range before considering the install final — a spine that works at mid-height can still fail at full extension
- Only route cables that actually need to move with the desk through the spine; anchor everything else separately
- Leave a small amount of extra slack rather than a taut fit, since desks can move slightly beyond their marked range over time
- Recheck the mounting points periodically, since repeated desk movement puts more stress on fasteners than a static cable run
Common Problems
The most common issue is cables going fully taut at the desk’s highest position, which happens when the spine was measured and mounted with the desk only at a mid-range height. Always test-mount and check at both the lowest and highest desk positions before finalizing the install.
Frequently Asked Questions
Do I need a cable spine if I have a fixed-height desk?
No — cable spines are specifically for sit-stand desks where cables need to flex with the desk’s movement. A fixed-height desk can use standard clips or a raceway instead.
How do I know if my cable spine is the right length?
Test the desk’s full height range with the spine mounted — cables shouldn’t go fully taut at the highest position or bunch up excessively at the lowest.
Can I route all my desk’s cables through one cable spine?
Only cables that actually move with the desk should go through the spine — cables already anchored at both fixed ends don’t need spine support and can be managed separately.
How often should I check a cable spine’s mounting points?
Periodically, especially if you adjust your desk height often — repeated movement puts more stress on the mounting fasteners than a cable run that never moves.
Conclusion
A cable spine is worth the setup time if you actually raise and lower your desk regularly — testing the full height range before finalizing the install is the step that prevents nearly every problem. Ready to upgrade? Check our Best Desktop Cable Organizers guide for a full comparison of top picks.