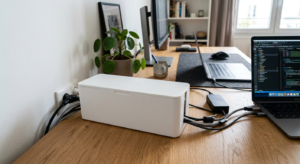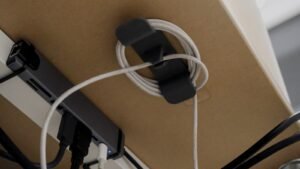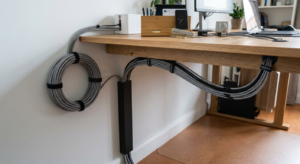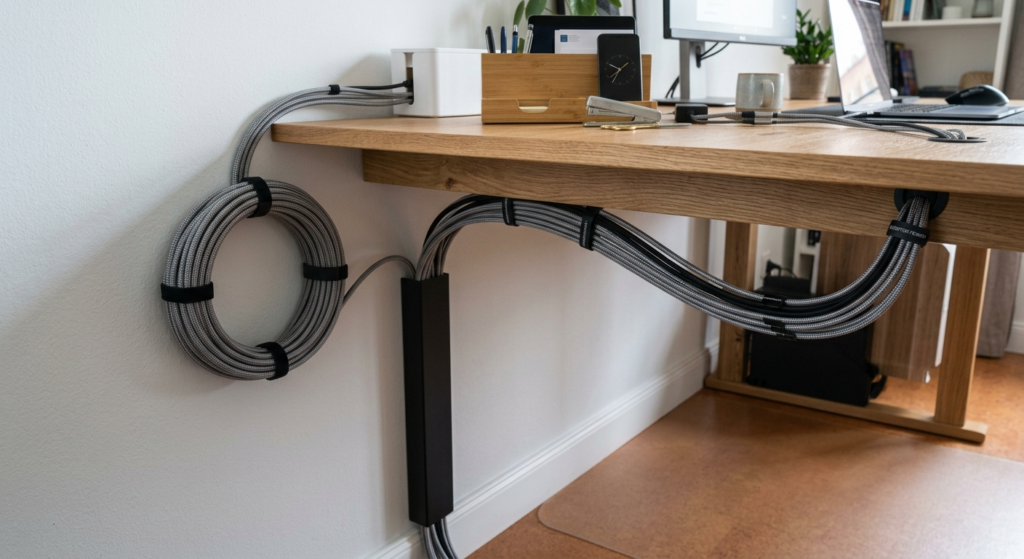
A tangle of separate cables running from your desk to the wall looks messy even when each one is individually tidy — a braided cable sleeve bundles them into a single, uniform-looking run. By the end of this guide, you’ll have your loose cables consolidated into one clean sleeve instead of a visible tangle.
What You’ll Need
- A braided sleeve sized to your cable bundle — Alex Tech 10ft 1/2-inch Braided Sleeve fits a typical desk-to-outlet run
- A combo pack like Alex Tech 50ft (1/4″ + 1/2″ combo) if you’re covering multiple runs of different bundle sizes
- Scissors
- Electrical tape or cable ties to secure the sleeve ends
Step-by-Step Instructions
Step 1: Gather the cables you want to bundle
Group cables that run the same general path — for example, a monitor power cord and its data cable, or several charging cables running to the same power strip.
Step 2: Measure the run and cut the sleeve with extra length
Measure the distance the bundle needs to cover and cut the sleeve a few inches longer than that measurement, since braided sleeving shortens slightly as it stretches open.
Step 3: Open the braid and feed cables through
Braided sleeving expands when stretched — open one end wide enough to feed all your cables through together, working them down the length of the sleeve.
Step 4: Distribute cables evenly inside the sleeve
Once fed through, gently work the sleeve along its length so cables sit evenly distributed rather than bunched at one end, keeping the finished bundle a consistent width.
Step 5: Secure both ends
Wrap electrical tape or a small cable tie around each end of the sleeve where it meets the connectors, both to prevent fraying and to keep cables from sliding back out.
Step 6: Route the finished bundle along its path
Use clips or a raceway to secure the now-single bundle along the desk or wall, since one uniform sleeve is much easier to route cleanly than several loose cables.
Tips for Best Results
- Cut the sleeve slightly longer than measured — it’s easy to trim excess but hard to add length back
- Bundle cables carrying similar signal types together rather than mixing power and sensitive data cables when possible
- A heat gun briefly applied to the cut ends of some sleeve materials can prevent fraying, but check the manufacturer’s care instructions first
- Leave a little slack at connector ends rather than sleeving all the way to the plug, which can strain the connection point
Common Problems
The most common issue is the sleeve fraying at cut ends over time, which usually happens when it wasn’t taped or secured properly at installation. If fraying starts, trim the frayed section and re-secure the end with tape or a cable tie rather than leaving it to continue unraveling.
Frequently Asked Questions
How do I know what size braided sleeve to buy?
Measure the combined diameter of the cables you’re bundling together and check the sleeve’s stated expanded diameter range — sleeving needs to stretch open enough to fit your cables but still close snugly around them.
Will a braided sleeve fray at the cut ends?
It can over time if the ends aren’t secured — wrapping electrical tape or a cable tie around each cut end when you install it prevents most fraying.
Can I bundle power and data cables in the same sleeve?
You can, though separating power and sensitive data cables into different sleeves reduces any risk of electrical interference, especially for audio or video signal cables.
How much extra length should I cut for a braided sleeve?
A few inches longer than your measured run is a safe margin, since the sleeve can shorten slightly as it’s stretched open to feed cables through.
Conclusion
Braided sleeving turns a visible tangle into one clean bundle in about ten minutes per run, as long as you secure both ends properly. Ready to upgrade? Check our Best Braided Cable Sleeves guide for a full comparison of top picks.