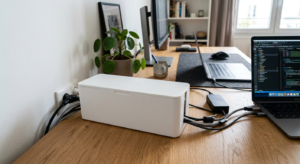
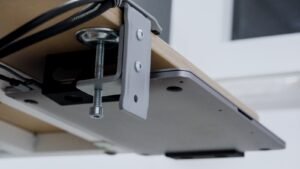
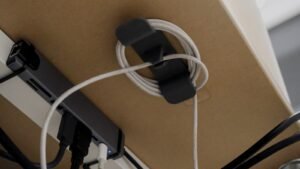
Cable management clips are the fastest way to route and pin down individual cords along the underside or back of a desk. By the end of this guide, you’ll have your desk’s cables clipped into a clean, fixed path instead of hanging loose or shifting every time you move something.
What You’ll Need
- Adhesive cable clips — a set like SOULWIT Silicone Cable Holder Clips works well for a handful of cables on top of a desk
- A larger bulk pack like TidyHelper Adhesive Cable Clips (45-Pack) if you’re routing cables under the desk and around multiple points
- Isopropyl alcohol and a cloth to clean mounting surfaces
- 5-10 minutes per cable run
Step-by-Step Instructions
Step 1: Map out where each cable needs to go
Trace each cable from its device to its power source or port, noting where it currently sags, crosses another cable, or dangles off the edge of the desk.
Step 2: Clean the mounting surface for each clip
Wipe down the underside of the desk or the back panel with isopropyl alcohol wherever you plan to stick a clip — this is the single biggest factor in how long the adhesive holds.
Step 3: Place clips at bend points and cable ends first
Start with clips at the spots where a cable changes direction or reaches its final destination (an outlet, a hub), then fill in supporting clips along straight runs.
Step 4: Press each clip firmly for several seconds
Hold pressure on each clip base for 10-15 seconds after placing it — the adhesive needs sustained contact to bond properly, not just a quick tap.
Step 5: Route the cable through and snap it in
Lay the cable into the open clip and snap or press the top closed, leaving a small amount of slack rather than pulling the cable taut, which reduces strain on connectors.
Step 6: Let the adhesive cure before adding weight
Avoid tugging on newly clipped cables for the first hour or two, giving the adhesive time to fully set before it’s tested by regular use.
Tips for Best Results
- Start with the cables closest to your line of sight (monitor, desk lamp) since those matter most visually
- Leave a little slack in each run rather than pulling cables taut between clips
- Group similar cables (power vs. data) along the same path when possible for a cleaner look
- Replace a clip immediately if it lifts rather than re-sticking the same worn adhesive pad
Common Problems
The most common issue is a clip popping off within days, almost always from skipping the surface-cleaning step or from the clip carrying more cable weight than its adhesive rating supports. If a clip keeps failing in the same spot, switch to a stronger clip rated for more cables at that specific point rather than continuing to re-stick the same one.
Frequently Asked Questions
How long should I hold a cable clip in place after sticking it down?
10-15 seconds of firm, sustained pressure gives the adhesive time to properly bond — a quick tap isn’t enough.
Can I move cable clips once they’re stuck down?
Not cleanly — once the adhesive bonds, removing a clip usually damages the pad and reduces its holding strength. Plan your layout before sticking clips down rather than repositioning after.
How many cables can one clip hold?
This varies by clip size and rating — check the specific product listing, and use a larger or reinforced clip for bundles of 3+ cables rather than overloading a small single-cable clip.
Why do my cable clips keep falling off?
Usually an adhesion issue from skipping surface cleaning, or the clip is holding more cable weight than its rating supports — clean the surface again and consider a stronger clip for that spot.
Conclusion
Cable clips are a five-minute-per-run fix, and the surface-cleaning step is what actually determines how long they hold. Ready to upgrade? Check our Best Cable Management Clips guide for a full comparison of top picks.